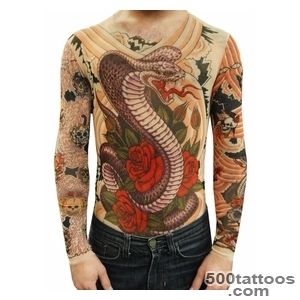
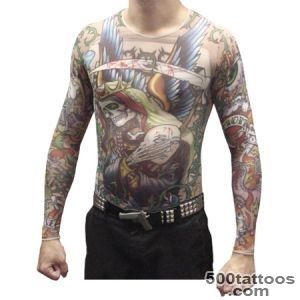
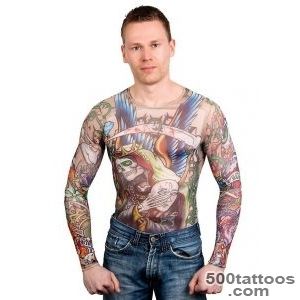
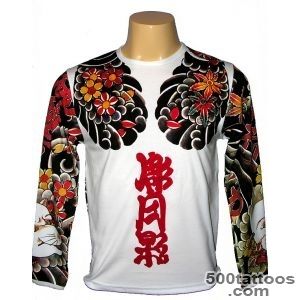
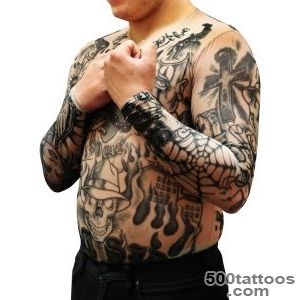
Shirt tattoo

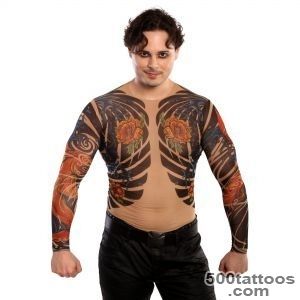
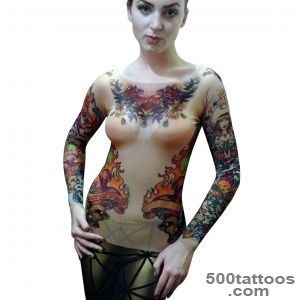
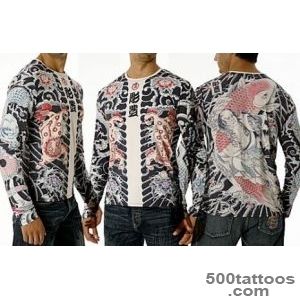
A shirt tattoo covers the chest and upper torso in a single cohesive design, creating the impression that the wearer has ink instead of fabric. The style has roots in Japanese irezumi bodysuits and modern chest-panel compositions. Planning a shirt tattoo requires careful thought about symmetry, session count, and long-term coherence.
What defines a shirt tattoo layout
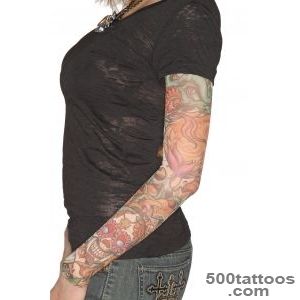
The shirt tattoo typically extends from the collarbones to the lower ribs and wraps around to the shoulder caps. Some designs stop at a clean horizontal line across the midsection, mimicking a garment's hem. Others taper into the waistline or connect to sleeve work. The key is a deliberate boundary that separates the tattooed area from bare skin, giving the appearance of a worn garment.
Japanese influence on full-chest compositions
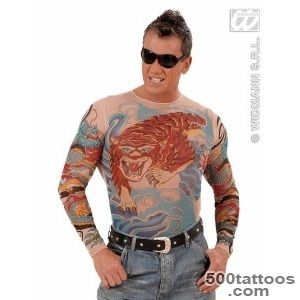
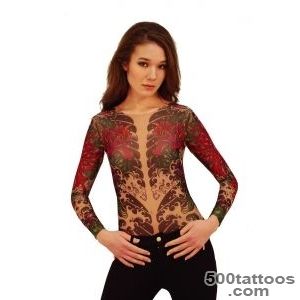
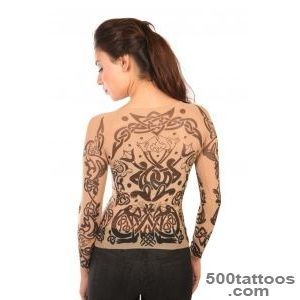
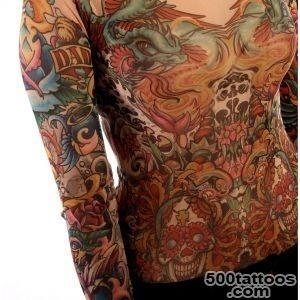
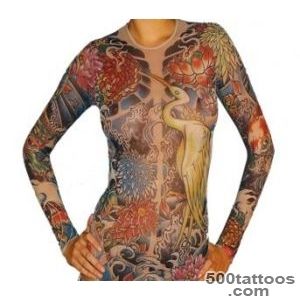
Traditional Japanese bodysuits divide the torso into panels separated by rivers of bare skin called munewari. This negative-space channel runs down the sternum and creates visual balance. Western adaptations sometimes fill the center gap for a denser look. Common motifs include dragons, koi, peonies, and waves that flow across the chest following the body's contours.
Symmetry, panels, and centerpiece planning
Many shirt tattoos use a central anchor image on the sternum-a skull, mandala, or sacred heart-with mirrored elements radiating outward. Others take an asymmetric narrative approach, telling a story that flows from one pectoral to the other. Planning the layout on paper or with a digital mockup before inking prevents composition gaps.
Pain and healing for large torso coverage
The sternum, ribs, and collarbone rank among the more painful areas to tattoo. Sessions typically last three to five hours and are spaced several weeks apart. Healing a large chest piece means wearing loose shirts, sleeping on your back, and keeping the area moisturized. Most shirt tattoos take four to eight sessions to complete.
How to plan sessions for a shirt tattoo
Start with an outline session that maps the full composition. Follow with shading and detail passes, working outward from the center. Finishing one panel at a time helps the artist maintain consistency. Budgeting for the full project before starting avoids an unfinished look that is hard to resolve later.
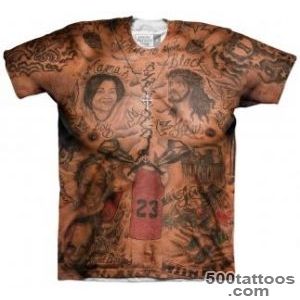
Shirt tattoo designs and images