Sleeve tattoos

A sleeve tattoo transforms the entire arm into a continuous canvas. Planning a cohesive sleeve requires choosing a theme, establishing visual flow, and balancing large focal pieces with smaller filler elements. The result is a wearable mural that tells a story from shoulder to wrist.
Full sleeve, half sleeve, and quarter sleeve
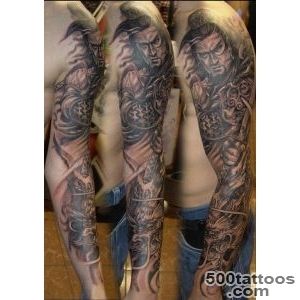
A full sleeve covers the arm from shoulder cap to wrist. A half sleeve stops at the elbow, and a quarter sleeve covers the upper arm only. Each option has a different level of commitment and visibility. Starting with a quarter sleeve allows expansion later, while a planned full sleeve ensures that early sessions fit the larger composition without awkward gaps.
Choosing a theme and building visual flow
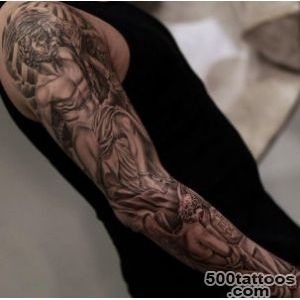
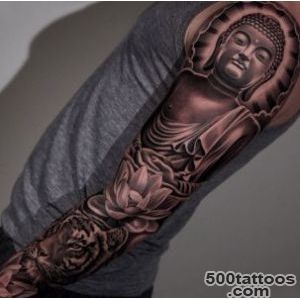
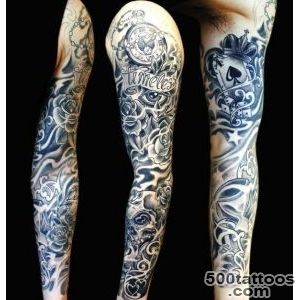
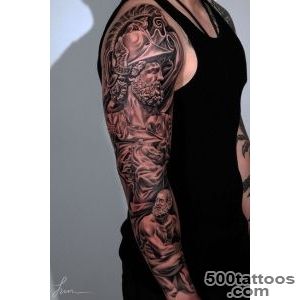
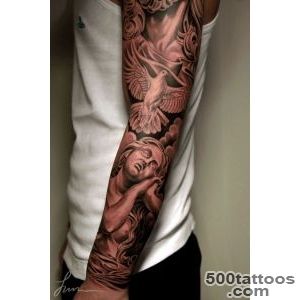
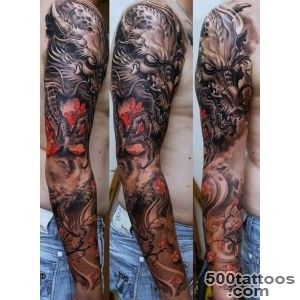
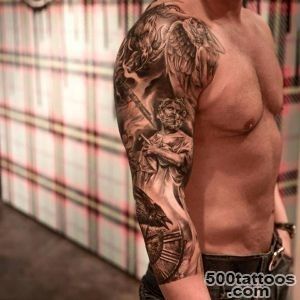
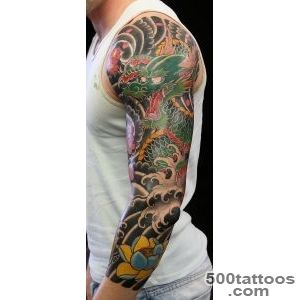
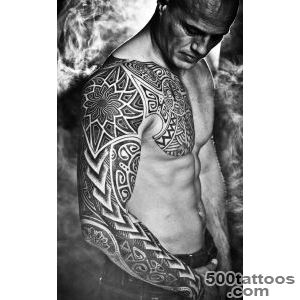
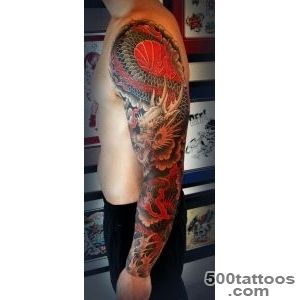
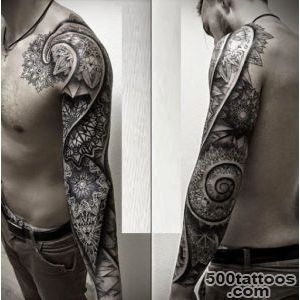
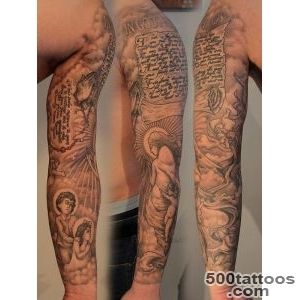
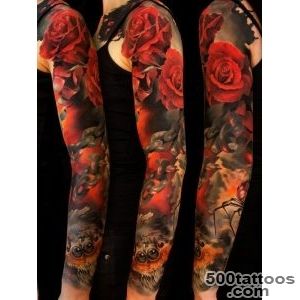
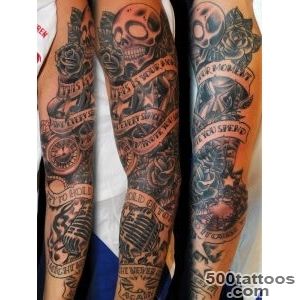
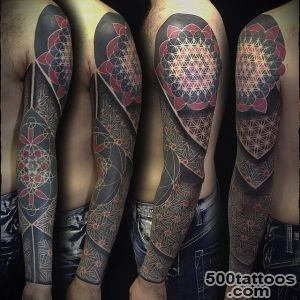
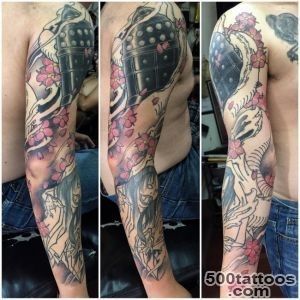
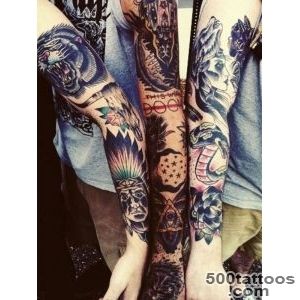
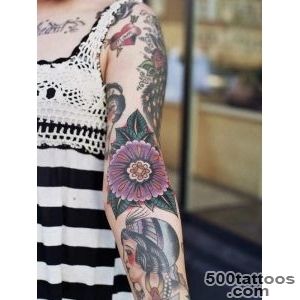
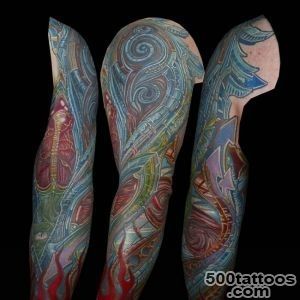
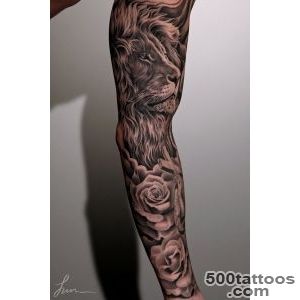
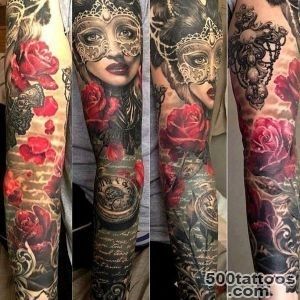
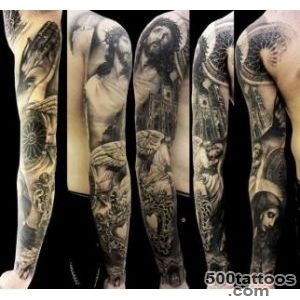
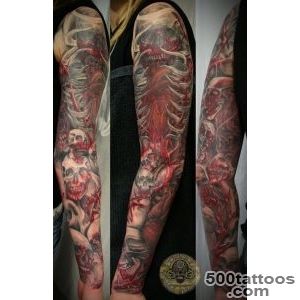
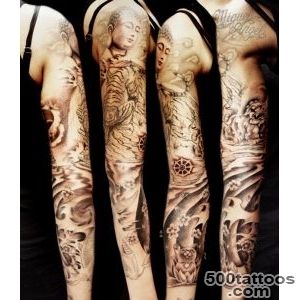
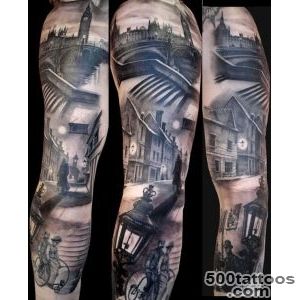
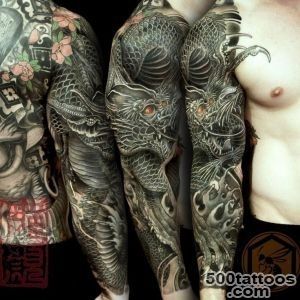
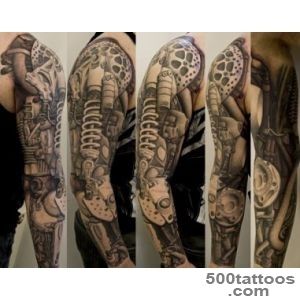
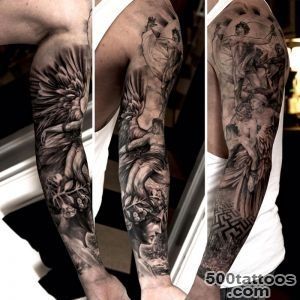
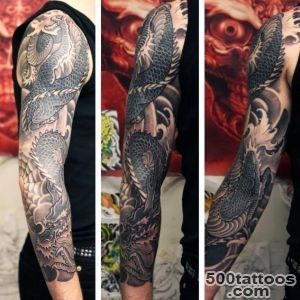
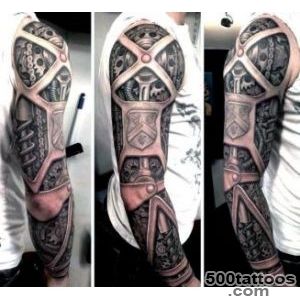
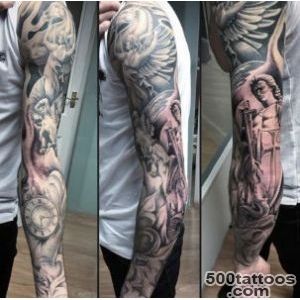
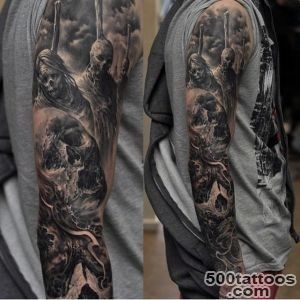
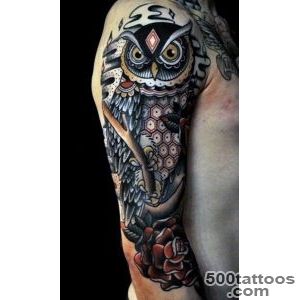
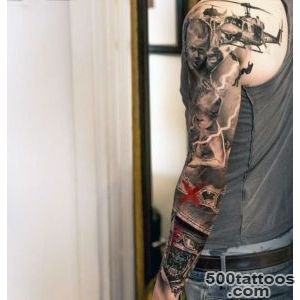
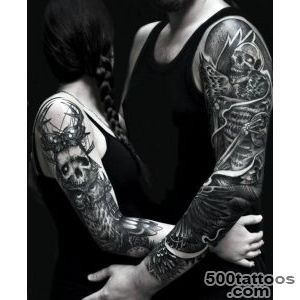
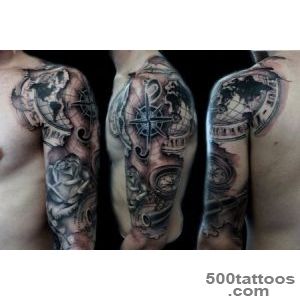
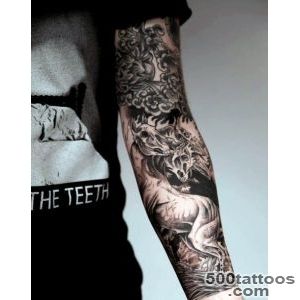
Strong sleeves have a unifying theme: Japanese mythology, ocean life, biomechanical, floral, or black-and-grey realism. Within the theme, larger anchor pieces (a dragon, a clock, a portrait) occupy the upper arm and forearm, with transition elements guiding the eye between them. Background shading, clouds, smoke, or geometric patterns fill gaps and create continuity.
Filler elements and negative space
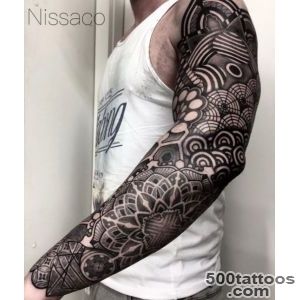
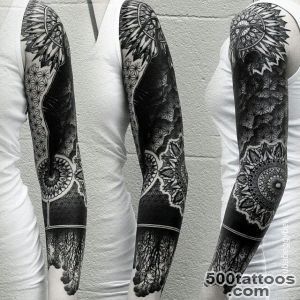
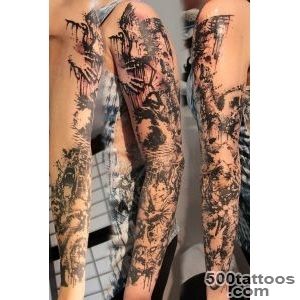
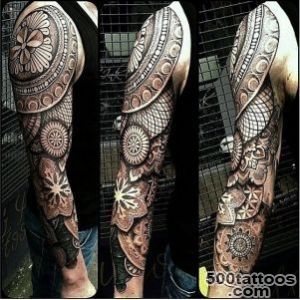
Filler is not afterthought decoration-it is the connective tissue that makes a sleeve read as one piece instead of separate tattoos. Clouds, waves, dot mandalas, and stippled gradients each create different moods. Some artists use heavy blackwork backgrounds to push focal images forward. Strategic negative space (bare skin channels) prevents the sleeve from looking muddy at a distance.
Session planning and long-term care
Most full sleeves take six to twelve sessions spaced three to four weeks apart. Outline sessions map the structure before shading and color passes add depth. Healing large sections requires sun protection and consistent moisturizing to keep colors vibrant. Budget the full project cost before starting to avoid an incomplete sleeve that is difficult to finish with a different artist.
Sleeve tattoos designs and images